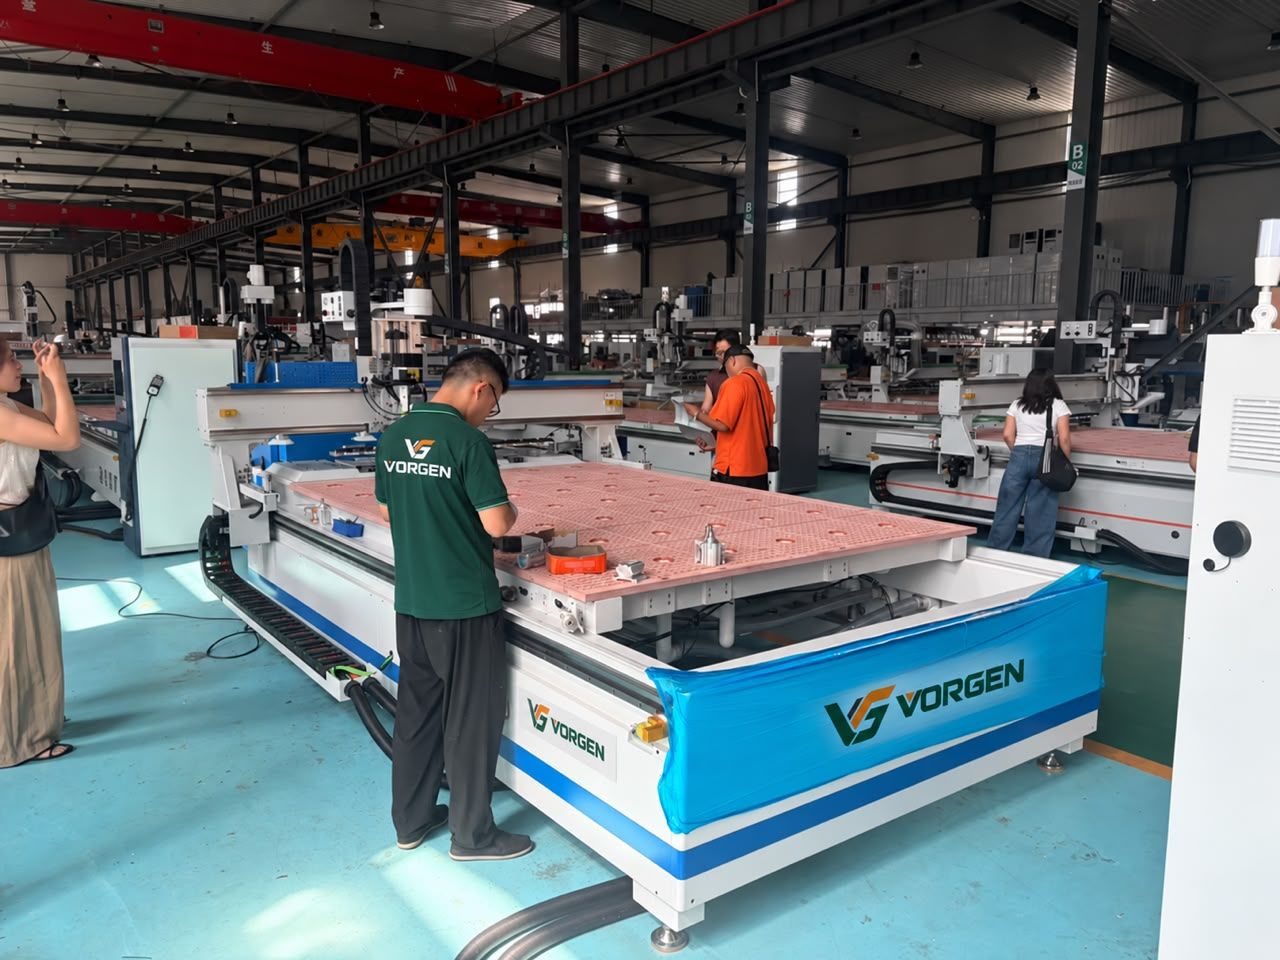
CNC Nesting Operation
VORGEN Education · 03 · Advanced / Scale

CNC Nesting Operation

From a design file to cut, labelled, sorted parts.

The complete operating course for a nesting machine: what the production file contains, how the sheet is held down, which tool cuts what, and how to tell a good part from a bad one before it reaches assembly.

Watch
Understand
Apply
Grow
Who it is for
  • Operators taking responsibility for a nesting machine
  • Owners deciding whether the Advanced stage is worth it
  • Drafters who want to understand what happens to their file
Before you start
  • Comfortable handling full sheets safely with a second person or lifter
  • Basic familiarity with cabinet parts and terminology
  • No programming knowledge is assumed
What you will be able to do
  • Load, zero and run a nesting job from a supplied production file
  • Set up vacuum hold-down so small parts stay put through the cut
  • Choose the right cutter for the material and recognise when it is blunt
  • Diagnose fuzzing, tear-out, burning and stepped edges from the cut itself
  • Read a nest for yield and explain where board is being lost
Where it fits

This course belongs to 03 · Advanced / Scale of the VORGEN journey.

See the stage →
Syllabus

10 modules.

Draft course outline for confirmation. Module order and depth to be finalised with the training team.

01

What nesting actually does

  • Manual marking and cutting versus a nested sheet layout
  • Kerf, offcuts and why parts cannot simply touch each other
  • Grain direction and when a part may not be rotated
  • What the machine can and cannot decide for you

02

The production file

  • How a cabinet design becomes a panel list and then a machine file
  • Toolpaths: cutting, drilling, grooving and pocketing in one file
  • Part numbering and how labels tie back to a cabinet
  • What to check in the file before you walk to the machine
03

Machine anatomy and safety

  • Gantry, spindle, tool changer, vacuum table and dust hood
  • Emergency stops, interlocks and safe zones around a running machine
  • Personal protective equipment and hearing protection
  • Housekeeping: chips, offcuts and trip hazards around the table
04

Vacuum hold-down and the spoilboard

  • How vacuum hold-down works and why parts lift or shift
  • Zone valves and covering unused table area
  • Surfacing the spoilboard flat, and how often it is needed
  • Onion-skinning and tabbing for small parts
05

Tooling

  • Compression, up-cut and down-cut cutters and what each does to an edge
  • Diameter, flute count and cutting length
  • Feeds, speeds and chipload in plain terms
  • Collet cleaning, run-out and the real cost of a blunt cutter
06

Setting up a job

  • Measuring true material thickness, not the label on the pack
  • Setting X, Y and Z origin and tool length
  • The first test cut and what to measure on it
  • Confirming squareness and dimension before running the full sheet
07

Labelling and part identification

  • What belongs on a label: cabinet, part, size, edging, drilling
  • Label placement so it survives edge banding and handling
  • Sorting parts by cabinet as they leave the table
  • What goes wrong when labels are applied after the fact
08

Running and unloading

  • Monitoring a running job without standing in the wrong place
  • Clearing chips and dust between sheets
  • Unloading sequence and stacking to protect faces and edges
  • Handling offcuts so they are actually reusable
09

Quality control

  • Checking dimension, squareness and diagonal on a finished part
  • Edge quality: fuzzing, chipping, tear-out, burn marks and steps
  • Tracing a defect back to tool, feed, hold-down or file
  • Setting an acceptance standard the whole floor agrees on
10

Yield and waste

  • Reading nesting efficiency and what a realistic figure looks like
  • Where board is lost: trim, kerf, rotation limits, small batch sizes
  • Managing and reusing offcuts without losing track of them
  • Batching orders to improve yield without delaying customers